|
Making the tail can be one of the best part of making your costume, as long as it looks good and matches your costume.
It also takes quite a while to make. It usually takes me 2-8 hours, but lets stick to telling you how to make your tail.
The materials you'll need:
- You need scissors
- You'll need yarn in the colour you want (if you have a long tail [ex.Munkustrap] make sure you have enough of it.
- Lots of time.
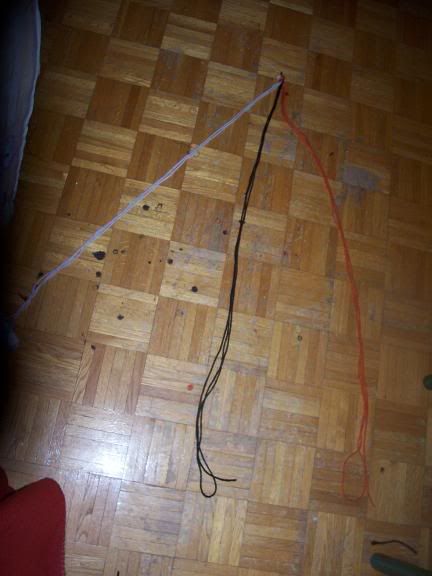
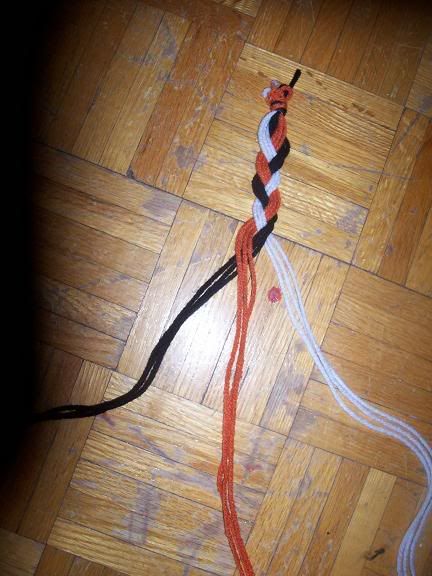
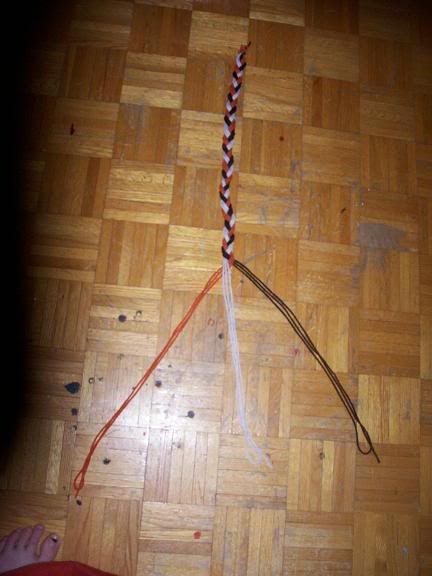
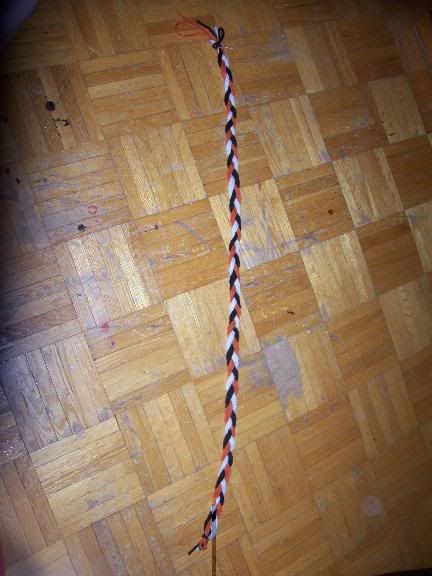
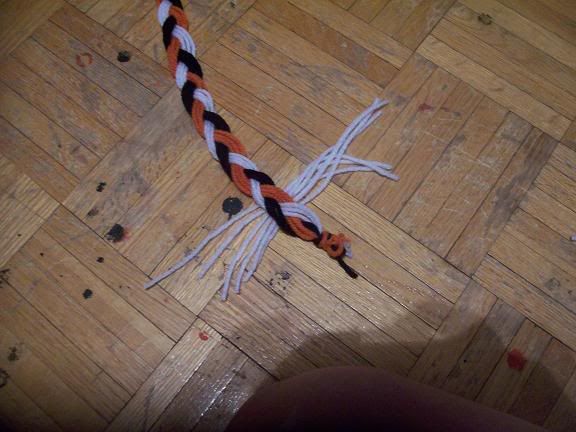
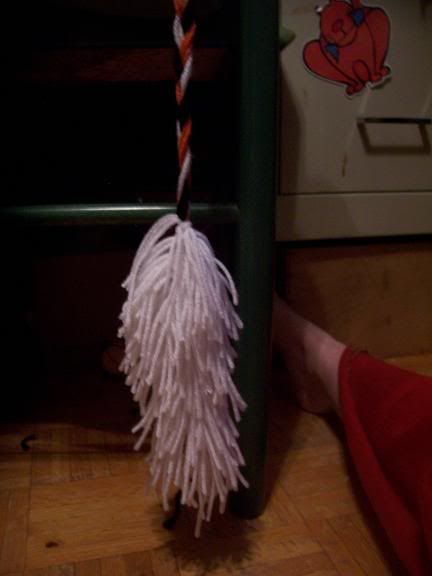
1) You need to make the 'base' of the tail. Use the yarn (whicever colour you want. Black or white
might work best, or you can even mix colours) and make a long braid that nearly touches the floor. The pic below shows an
example:
Yarn Brands:
- Red Heart Yarn (recommended, sturdy and strong)
- Bernat Yarn
- Bernat Silk Yarn (Becomes fuzzy and soft but doens't stay on secure)
- Any yarn would work, as long as it's thick enough
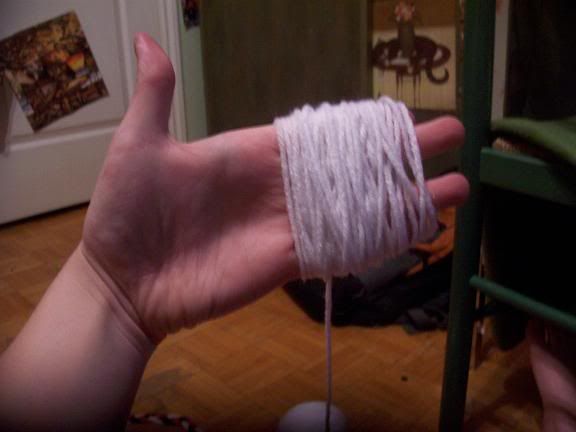
2) After making your braid (following all the steps in #1) now you need the fur to add to the tail. Pick whichever colour
you want. Use you finger's and wrap the yarn around them. the pic below shows an example:
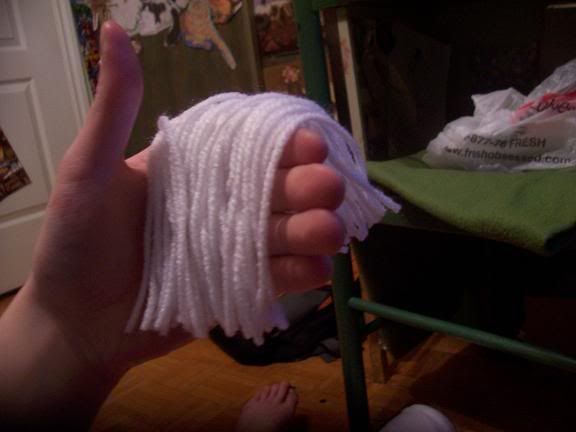
Then tie the yarn onto the braid. Below shows how:
Eventually, your tail will look something similar to this:
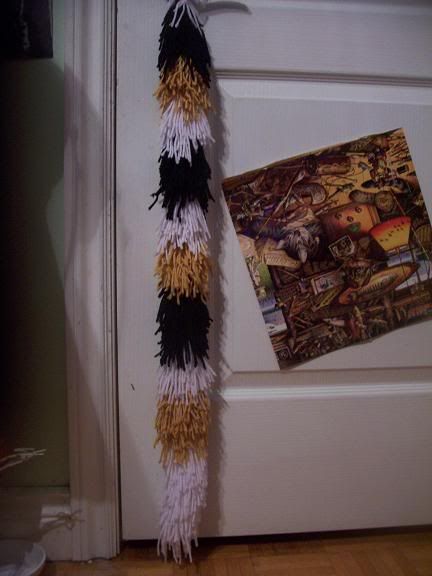
Making strips:
Making strips is easy, all you need to to really is use only one colour using the technique in step
#2 and then switching to another colour when you need to.
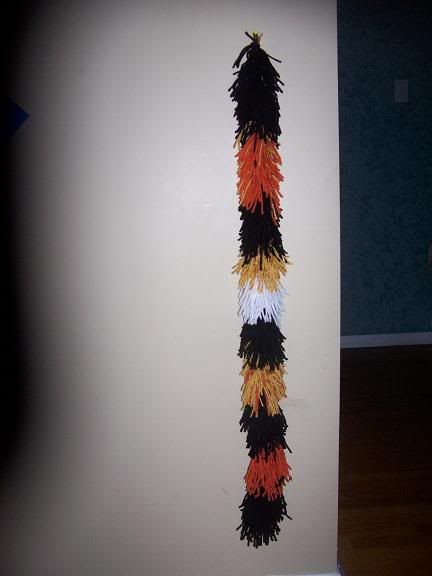
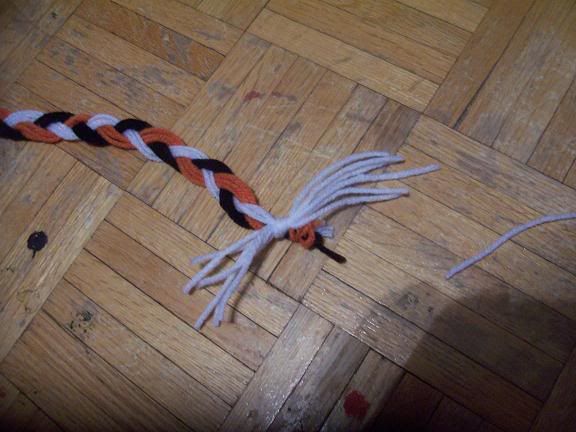
Making colours Collide:
To make this effect (as shown in the picture
below) all you need to do is mix the yarn colours together while you tie it on.
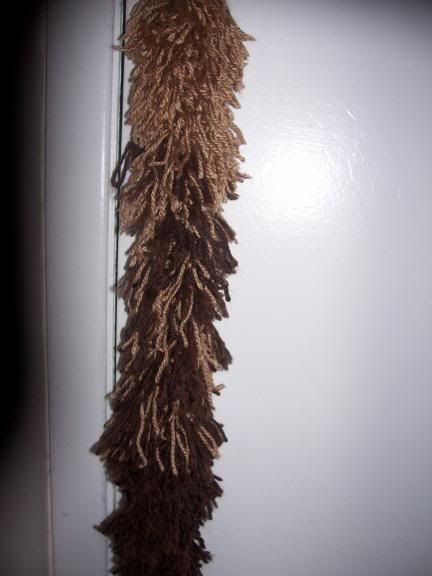
Making a One colour Tail
Just don't switch colours, use one colour
throughout the entire tail.
3) Now that you've made that actual tail
part, your gonna need a belt. Repeat the braiding technique explained in step #1 (make it white, or a different colour if
need be) but make sure the braid is the size of your waist, but then about half a foot longer on each side. Tie
the belt onto the tail.
4)If you made your yarn to long on the actual
tail part, no worries- You can always trim it to make it short enough for the particular tail.
|